
Showing 1–16 of 57 results
-
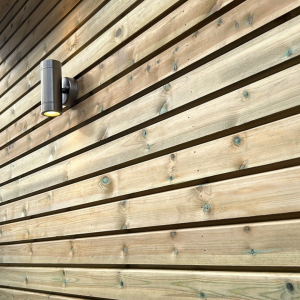
Pressure Treated Redwood Shadow Gap Cladding
Price range: £7.86 through £9.44 Select options This product has multiple variants. The options may be chosen on the product page -
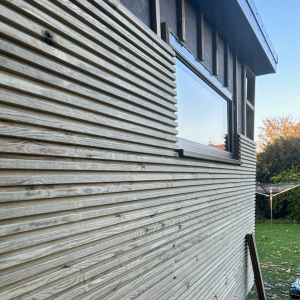
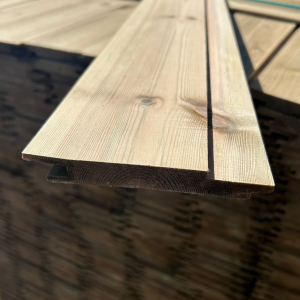
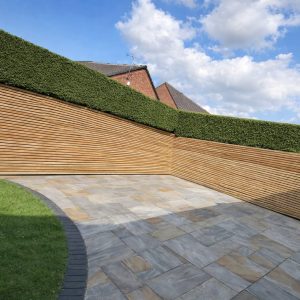
Tanalised Redwood Rainscreen Cladding
£11.96 Select options This product has multiple variants. The options may be chosen on the product page -

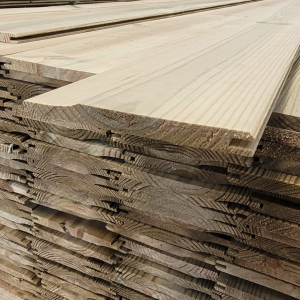
Bullnose Redwood Cladding 14 x 118 x 3600mm
£8.38 Add to cart -

Pressure Treated Redwood Loglap Cladding
Price range: £7.95 through £9.95 Select options This product has multiple variants. The options may be chosen on the product page -
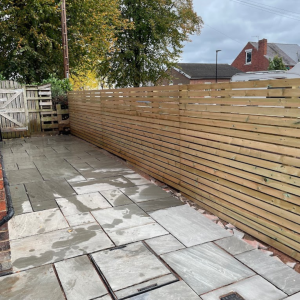
Treated Redwood Shiplap Cladding
Price range: £6.05 through £6.95 Select options This product has multiple variants. The options may be chosen on the product page -

Tanalised Redwood Matchboard Cladding
Price range: £5.97 through £7.95 Select options This product has multiple variants. The options may be chosen on the product page -
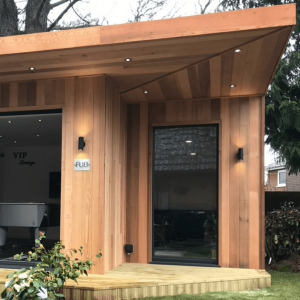
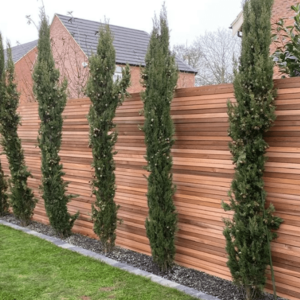
Western Red Cedar Cladding
Price range: £30.53 through £70.08 Select options This product has multiple variants. The options may be chosen on the product page -
Vertical Square-edge Redwood Shiplap Cladding
Price range: £5.97 through £6.46 Select options This product has multiple variants. The options may be chosen on the product page -
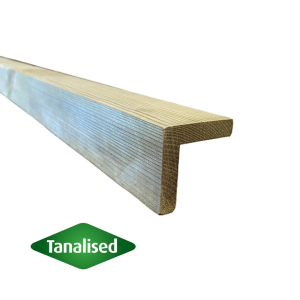
Tanalised Corner Trim
£11.92 Select options This product has multiple variants. The options may be chosen on the product page -
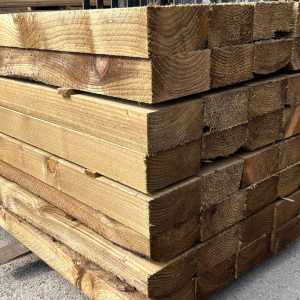
Garden Sleepers 100 x 200 x 2400 (slight seconds)
Price range: £15.95 through £16.95 Select options This product has multiple variants. The options may be chosen on the product page -
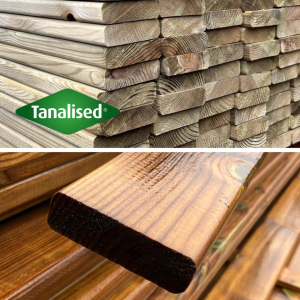
New Tanalised Sleepers
£23.95 Add to cart -

New Brown Tanatone Sleepers
£23.95 Add to cart -
Bullnose Slatted Fencing Battens 18mm x 44mm ( 2 x 1 )
Price range: £4.40 through £5.05 Select options This product has multiple variants. The options may be chosen on the product page -
19mm x 69mm Rounded Fencing Slats
Price range: £5.95 through £7.25 Select options This product has multiple variants. The options may be chosen on the product page -
Canadian Western Red Cedar Slats
Price range: £17.77 through £20.73 Select options This product has multiple variants. The options may be chosen on the product page -
(20×70) 3×1 x 3600mm Treated Planed All Round
Price range: £5.51 through £5.79 Select options This product has multiple variants. The options may be chosen on the product page